Exercise - Create a copilot with Copilot Studio
In this exercise, you’ll use Copilot Studio to create a simple copilot that can answer questions based on topics that you define, and use generative AI to generate answers based on information in a web site.
This exercise will take approximately 45 minutes to complete.
Note: To complete this exercise, you’ll need a work or school account with access to Copilot Studio. If you don’t already have access to Copilot Studio, depending on the configuration of your Microsoft 365 organization, you may be able to create a trial account.
Create a copilot
Let’s start by using Copilot Studio to create a new copilot. The copilot will initially have very limited capabilities, which you’ll extend later in the exercise.
- In a web browser, navigate to Copilot Studio at
https://copilotstudio.microsoft.com/, signing in with your work or school account if prompted. -
In the navigation pane on the left, view the Copilots page, like this:
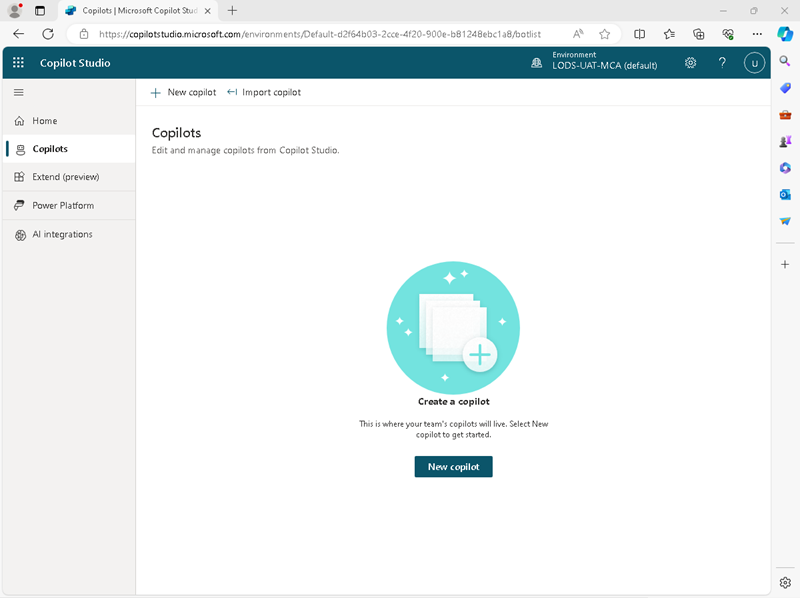
- Select the option to create a New copilot, and then setup a new copilot with the following settings:
- Copilot name:
Power Pilot - Language: English (United States) (en-US)
- Website: Leave this blank (for now)
- Advanced options:
- Copilot icon: Choose any icon
- Lesson topics: Unselected (not including lesson topics will provide a simple starting point for your copilot)
- Solution: Common Data Services Default Solution
- Schema name: powerPilot
- Copilot name:
-
Create the copilot and wait for it to be ready. When it has been provisioned, it will look similar to this:
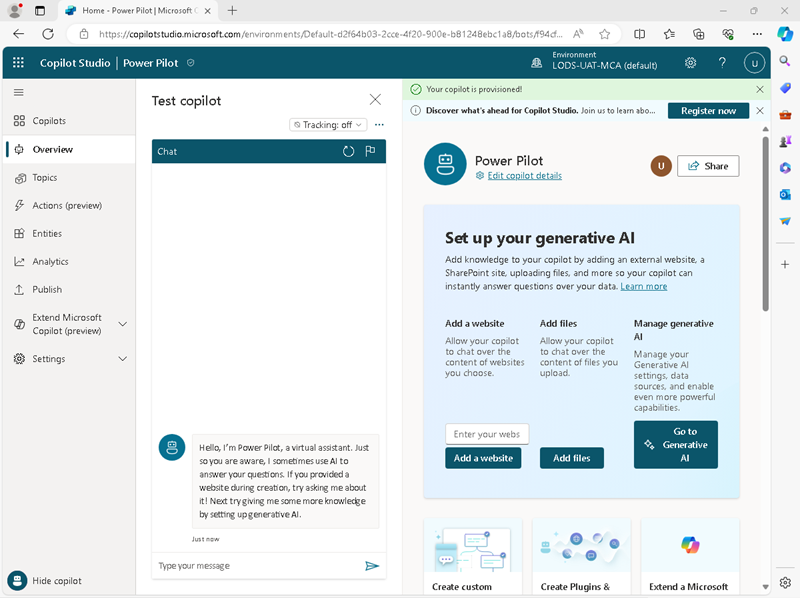
- In the Test copilot pane, enter the message
Hello, and view the response, which should be an appropriate welcome greeting. - Now enter the message
How do I use Copilot Studio?, and view the resulting response. This time, the response is not quite so helpful. You’ll address this in the next procedure.
Add a topic to your copilot
The conversational capabilities of your copilot are limited by the topics it understands. Topics are the basic building blocks of a copilot in Copilot Studio, and determine how responses are triggered during chat sessions.
-
In the navigation pane on the left, select the Topics page to see the topics defined in your copilot. You can close the Test copilot pane to make it easier to see them, like this:

The copilot has a few standard conversational topics on the Topics tab, and some additional system topics on the System tab. These topics are triggered by common phrases entered by the user or by specific events, such as errors or the intent of a user-entered phrase being unknown.
-
On the Topics tab, select the Greeting topic to view it on the authoring canvas, which is a visual designer for creating and editing topics and looks similar to this:
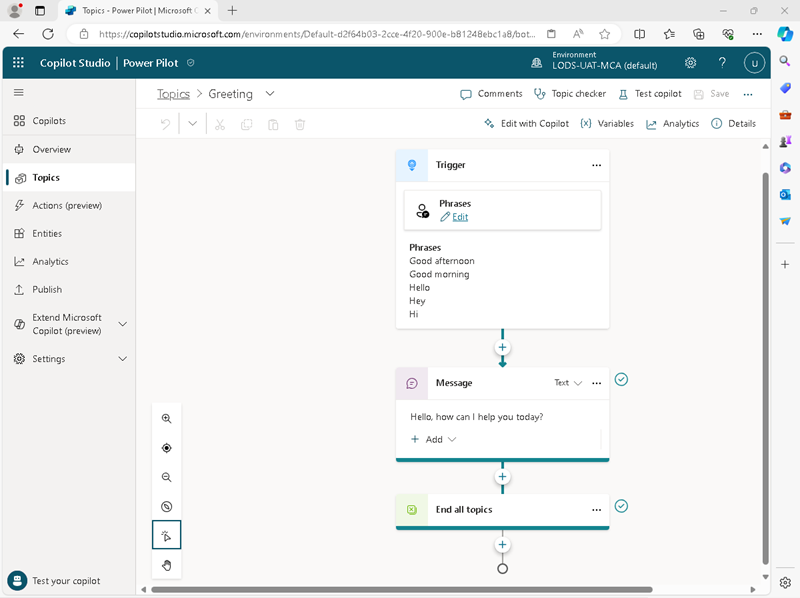
The Greeting topic is triggered by an input in which one of the following phrases is present:
- Good afternoon
- Good morning
- Hello
- Hey
- Hi
The response to this trigger is to return a message to the user saying Hello. How can I help you today?. The inclusion of this topic in the copilot in the copilot explains the response you saw previously when testing it.
-
Return to the Topics page, and on the System tab, select the Fallback topic to view it on the authoring canvas; where it looks like this:
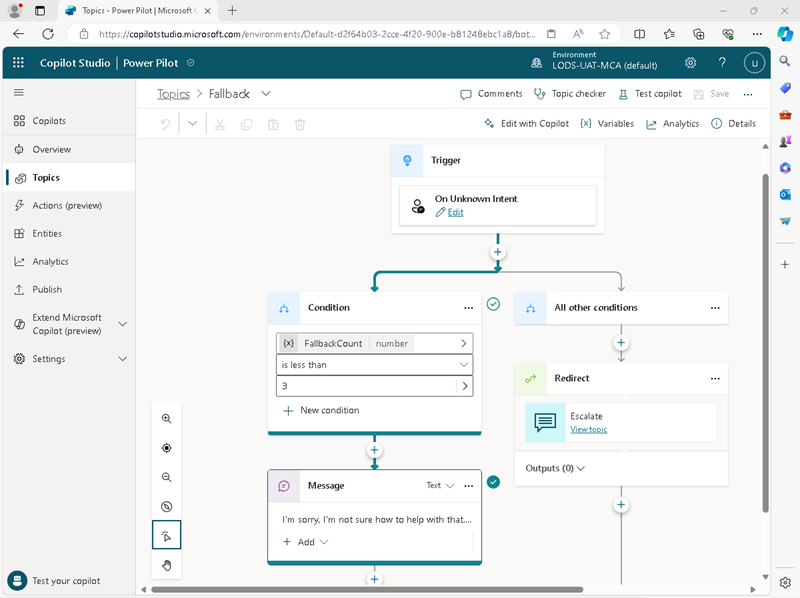
The Fallback topic is triggered when the user enters a phrase for which the intent is unknown (there’s no topic with a trigger that understands what the user is asking). This topic has a more complex flow than the Greeting topic: It starts by checking a condition to see if the fallback count (the number of times the user has attempted to ask the question) is less than 3, and if so it reponds with the message I’m sorry. I’m not sure how to help with that. Can you try rephrasing? (which you may remember as the reponse when you asked how to use Copilot Studio). If the intent is still not understood on the third attempt, the topic redirects the conversation flow to the Escalate topic, which can be used to enable the user to speak to a human operator.
- Return to the Topics page. Then in the + Create menu, select Topic > Create from description with copilot.
-
In the Create a description with copilot dialog box, name the new topic
Ask About Copilot Studioand enter the following text to tell copilot what the topic should do:Let the user ask how to use Copilot Studio, and tell them to visit https://learn.microsoft.com/microsoft-copilot-studio. -
After a short wait, a new topic named Ask About Copilot Studio should be created and opened in the authoring canvas, where it should look similar to this:
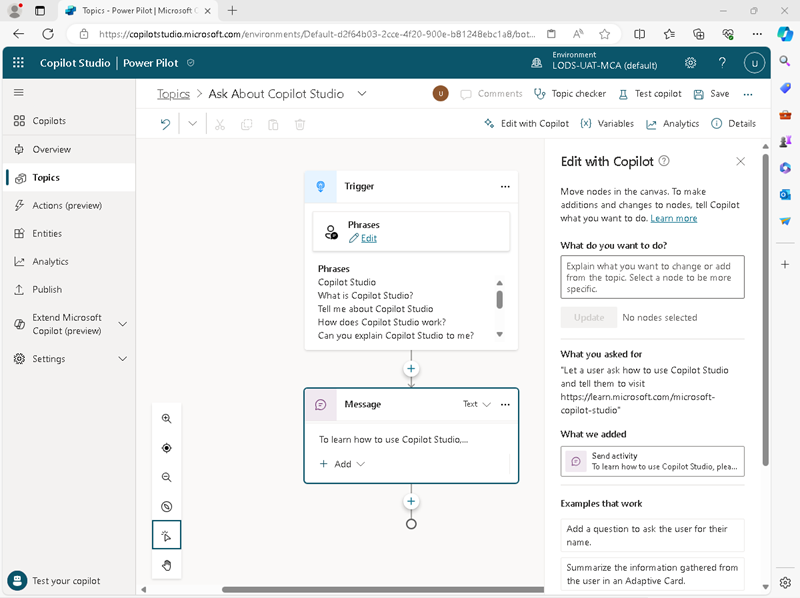
The new topic should be triggered by phrases that ask about Copilot Studio, and respond with a message telling the user to visit the Copilot Studio documentation web page.
- Use the Save button (at the top right) to save the new topic in your copilot.
-
Use the Test copilot button to re-open the Test copilot pane, and enter the text
How do I use Copilot Studio?. Then view the response, which should be based on the topic you just added (even though the text you entered doesn’t match any of the phrases in the trigger exactly - it should be close enough semantically to trigger the topic).Note: It’s worth pausing for a second here to think about what you’ve just done. You’ve created a copilot in Copilot Studio, in which you used a copilot to automatically add a topic that enables a user to ask about Copilot Studio! Mind-blowing stuff!
Add Generative AI support
You can add topics for all of the inputs that you expect a user to enter; but you can’t realistically expect to know every question that will be asked. The Fallback topic at least ensures that the user is informed that their question wasn’t understood; but it would be better if the copilot had access to some knowledge that isn’t “hard-coded” in its topic definitions, and which could be used to generate appropriate responses to questions.
To support this scenario, you can enable Generative answers; which uses a generative AI model to try to answer a user question based on a source of data, such as a web site.
-
In the navigation pane on the left, select the Overview page. Once again, you can close the Test copilot pane to see the page more easily:
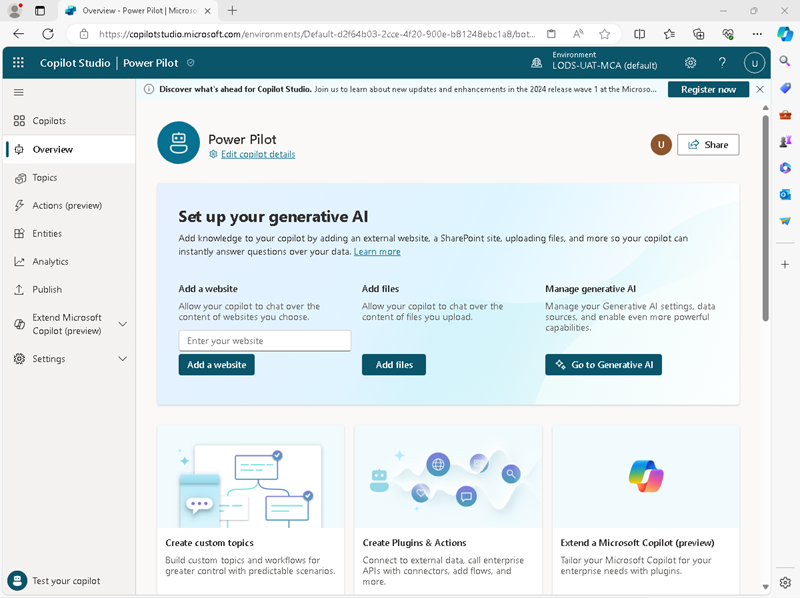
- In the Set up your generative AI section, under Add a website, enter
https://www.microsoft.com/en-us/power-platformand add it to the copilot. After a short time, the Generative AI page will be displayed with the URL you entered added to the websites for this copilot. -
Scroll to the bottom of the Generative AI page until you see a box in which you can enter Instructions to describe how the copilot should behave. These instructions are used in the prompt for a generative model to influence the responses that are returned. Enter the following instructions:
Answer the user's question politely, finishing with the phrase "This response was generated using AI.". - Use the Save button (at the top left) to save the changes you have made. The copilot is configured to boost conversational capability with generative AI (which may take a few seconds).
- Open the Test copilot pane and enter the question
What are components of Power Platform?. - View the response, which should be based on information from the website you entered (with references) and end with the phrase This response was generated using AI..
Publish the copilot
Now that you have a working copilot, you can publish it for people to use. The available channels through which you can deliver your copilot depend on the type of authentication you want to use to restrict access to it. In this case, you’ll enable access for anyone and then publish the copilot for use in a demo web page.
- In the navigation pane on the left, expand Settings and select Security.
- On the Security page, select Authentication. Then select the option for No authentication and save the changes to the configuration (confirming that you want to enable access to the copilot for anyone).
- Close the Authentication pane. Then, in the navigation pane on the left, select Publish.
- On the Publish page, select Publish, and publish your copilot. Publishing will take a minute or so.
- After your copilot has been published, in the navigation pane on the left, in the Settings section, select Channels.
- Review the list of channels through which you can deliver your copilot, and then select Demo website. This is an appropriate channel for users to test your copilot.
- In the Demo website pane, enter the following settings:
- Welcome message:
Ask me about Copilot Studio and Power Platform. -
Conversation starters:
  "Hello"
  "How can I get started with Copilot Studio?"
  "Tell me about Power Platform"
- Welcome message:
- Select Save to save the settings, and then copy the link to your copilot demo website to the clipboard.
-
In a new browser tab, navigate to the URL you copied to open the demo website, which should look similar to this:
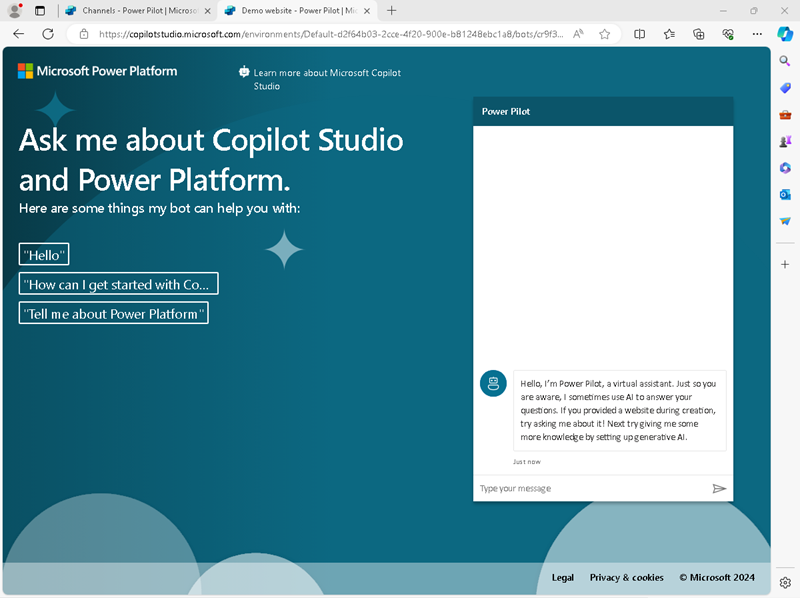
- Enter the message
What is Copilot Studio?and view the response, which should be based on the topic you created. - Enter the message
What is Power Platform?and view the response, which should be generated by AI based on the Power Platform website. - Try a few more questions and view the responses from your copilot. It will have limited functionality, but should be able to provide relevant answers to questions about using Copilot Studio or Power Platform.
Challenge
Now that you’ve seen how to use Copilot Studio to create a simple copilot, it’s time to apply what you’ve learned on your own. Try creating a new copilot that answers questions about Microsoft training and credentials.
- The copilot can use any language you prefer.
- Questions about training should be answered with a message instructing the user to visit
https://learn.microsoft.com/training/ - Questions about credentials or certification should result in AI-generated answers based on the contents of the
https://learn.microsoft.com/en-us/credentials/website (or the version of that website in your preferred language athttps://learn.microsoft.com/<locale-code>/credentials/). - The copilot should be published so that users can test it in a demo website.