Explore image and video capable models in Azure AI Foundry
Azure AI Foundry includes a wide range of generative AI models, some of which are capable of computer vision related tasks. In this exercise, you’ll use models to analyze and generate visual content.
Analyze images
While large language models (LLMs) are most commonly associated with responding to text-based prompts, many newer models have multi-modal capabilities that enable them to process image-based input.
-
In a web browser, open Azure AI Foundry portal at
https://ai.azure.comand sign in using your Azure credentials. Close any tips or quick start panes that are opened the first time you sign in, and if necessary use the Azure AI Foundry logo at the top left to navigate to the home page, which looks similar to the following image (close the Help pane if it’s open):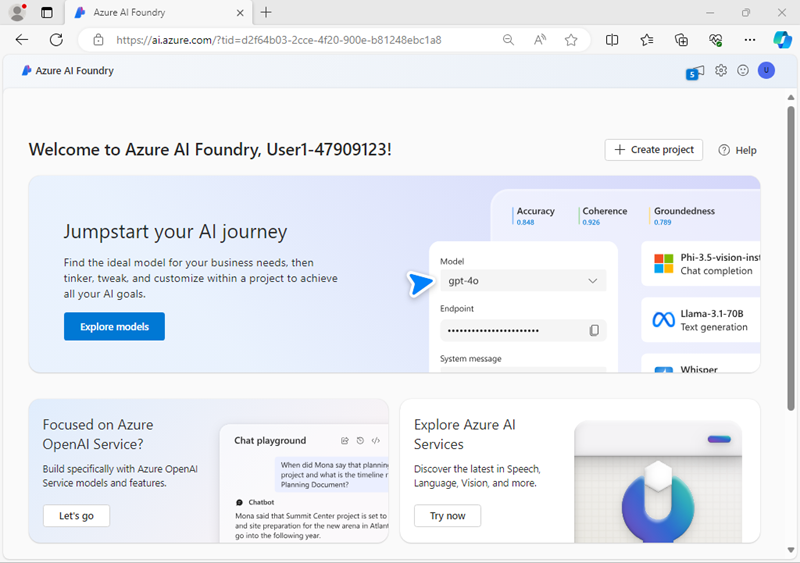
-
Review the information on the home page.
-
In the home page, in the Explore models and capabilities section, search for the
gpt-4o-minimodel; which we’ll use in our project. -
In the search results, select the gpt-4o-mini model to see its details, and then at the top of the page for the model, select Use this model.
-
When prompted to create a project, enter a valid name for your project and expand Advanced options.
- Select Customize and specify the following settings for your hub:
- Azure AI Foundry resource: A valid name for your Azure AI Foundry resource
- Subscription: Your Azure subscription
- Resource group: Create or select a resource group
- Region: Select a recommended region*
* Some Azure AI resources are constrained by regional model quotas. In the event of a quota limit being exceeded later in the exercise, there’s a possibility you may need to create another resource in a different region.
-
Select Create and wait for your project, including the gpt-4o-mini model deployment you selected, to be created.
Note: Depending on your available quota for gpt-4o-mini models you might receive a additional prompt to deploy the model to a resource in a different region. If this happens, do so, using the default settings.
-
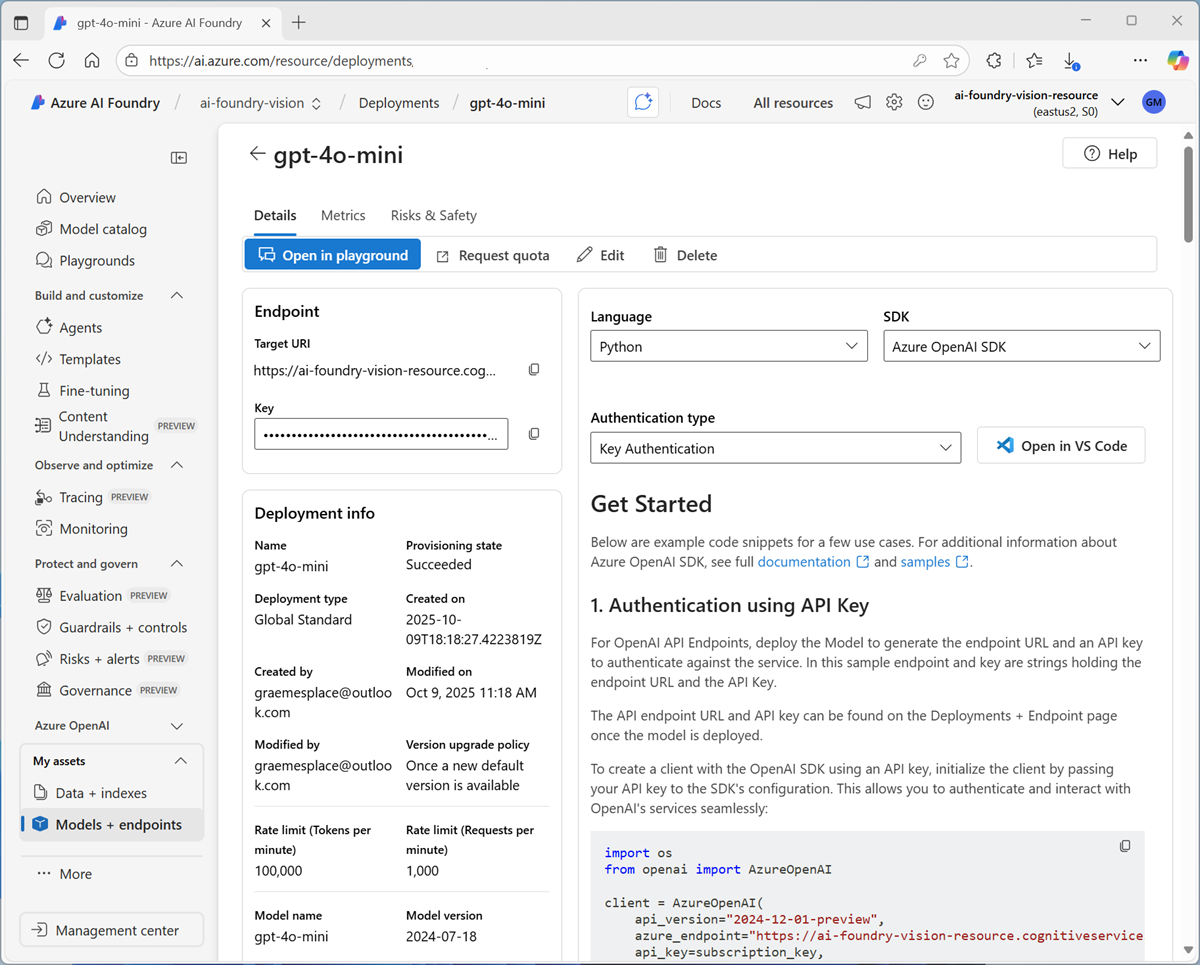
When your project is created, your deployed model will be displayed:
Now you can test your multimodal model deployment with an image-based prompt in the chat playground.
-
In the navigation pane on the left, select the Playgrounds page, and then open the Chat playground.
-
In a new browser tab, download image.zip from
https://github.com/GraemeMalcolm/openai-vision/raw/refs/heads/main/Labfiles/images/image.zipand extract it in a folder on your local file system. -
On the chat playground page, in the Setup pane, ensure that your gpt-4o-mini model model deployment is selected.
-
In the main chat session panel, under the chat input box, use the attach button (📎) to upload any of the extracted image files, and then add the text
What animal is this?and submit the prompt.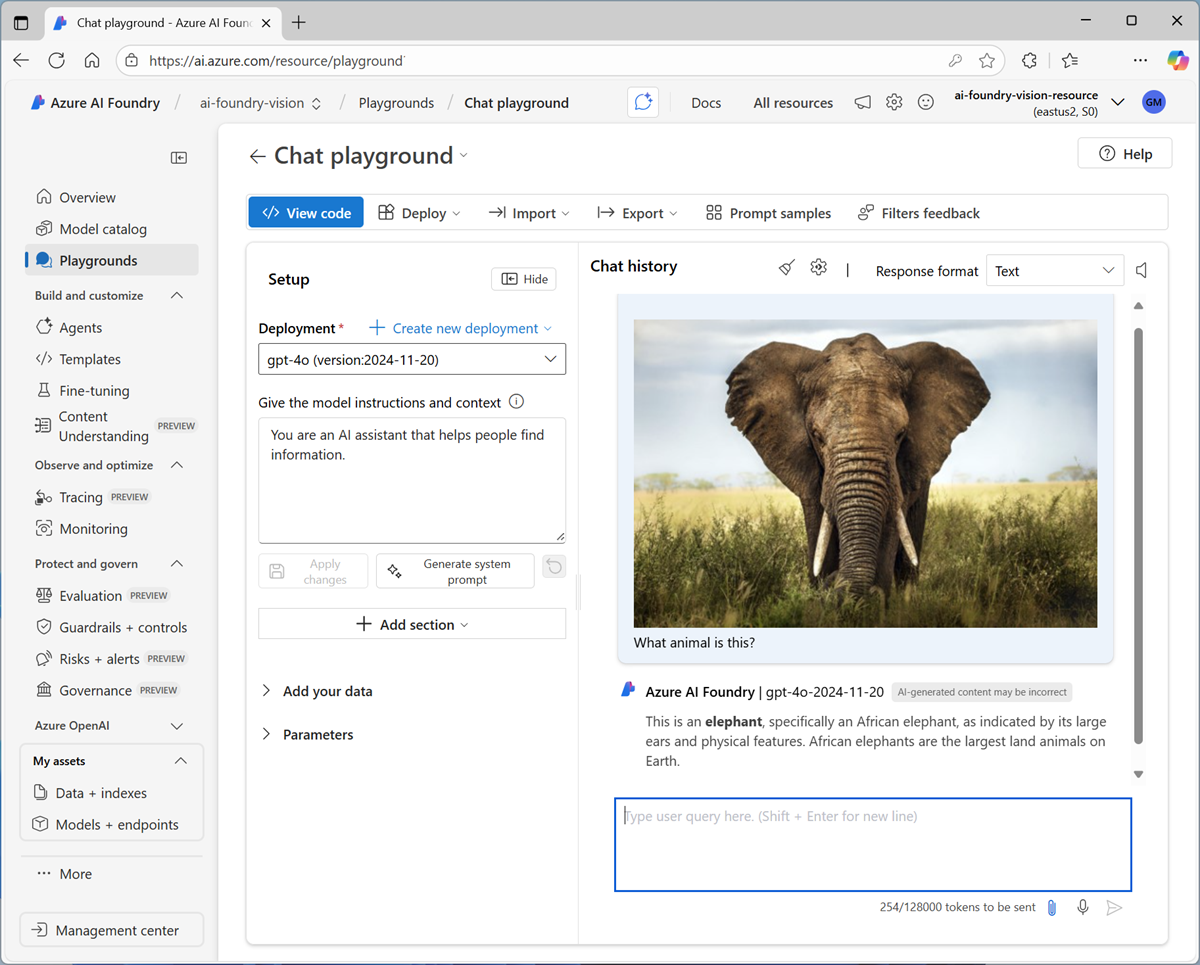
- Review the response, which should hopefully provide relevant information about the animal in the image.
-
Attach a different image and enter the following prompt:
Suggest a caption and some tags for this image. - Continue to experiment, uploading images and prompting the model to interpret them.
Generate images
Some LLMs are designed to generate visual responses, based on natural language descriptions of a desired image.
- In the pane on the left for your project, in the My assets section, select the Models + endpoints page.
- In the Models + endpoints page, in the Model deployments tab, in the + Deploy model menu, select Deploy base model.
- Search for the
dall-e-3model in the list, and then select and confirm it. -
Deploy the model using the default settings.
Note: Depending on your available quota for DALL-E-3 models you might receive a additional prompt to deploy the model to a resource in a different region. If this happens, do so, using the default settings.
-
Wait for the deployment provisioning state to be Completed.
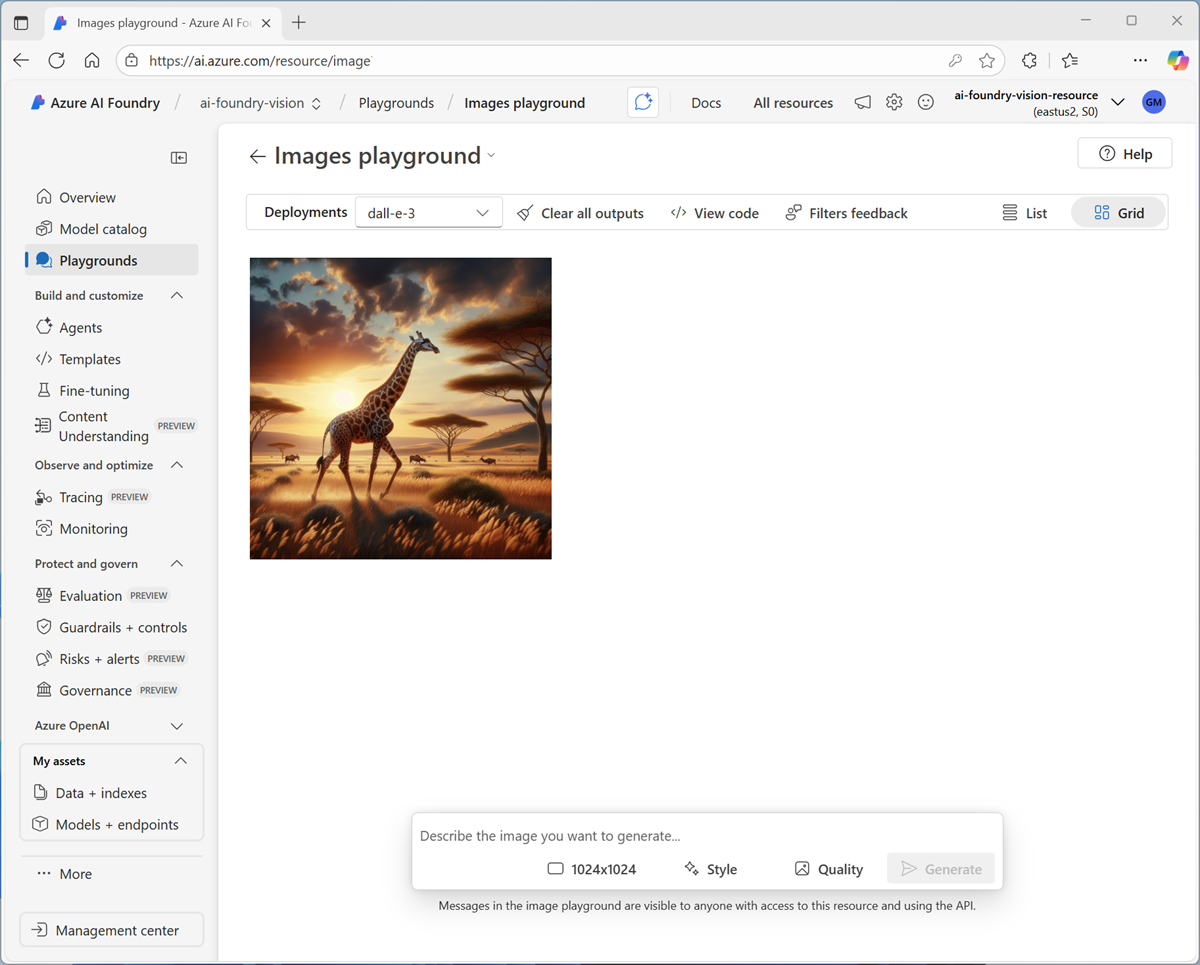
- In the navigation pane on the left, select the Playgrounds page, and then open the Images playground.
- Ensure your DALL-E model deployment is selected. Then, in the Prompt box, enter a prompt such as
A photorealistic giraffe walking in the Serengeti. -
Review the resulting image in the playground:
- Enter another prompt, such as
A safari truck with tourists viewing a herd of zebraand review the resulting image. - Continue testing with new prompts to create images.
Generate video
SIn addition to static images, you can use some models to generate video.
- In the pane on the left for your project, in the My assets section, select the Models + endpoints page.
- In the Models + endpoints page, in the Model deployments tab, in the + Deploy model menu, select Deploy base model.
- Search for the
soramodel in the list, and then select and confirm it. -
Deploy the model using the default settings.
Note: Depending on your available quota for Sora models you might receive a additional prompt to deploy the model to a resource in a different region. If this happens, do so, using the default settings.
-
Wait for the deployment provisioning state to be Completed.
- In the navigation pane on the left, select the Playgrounds page, and then open the Video playground.
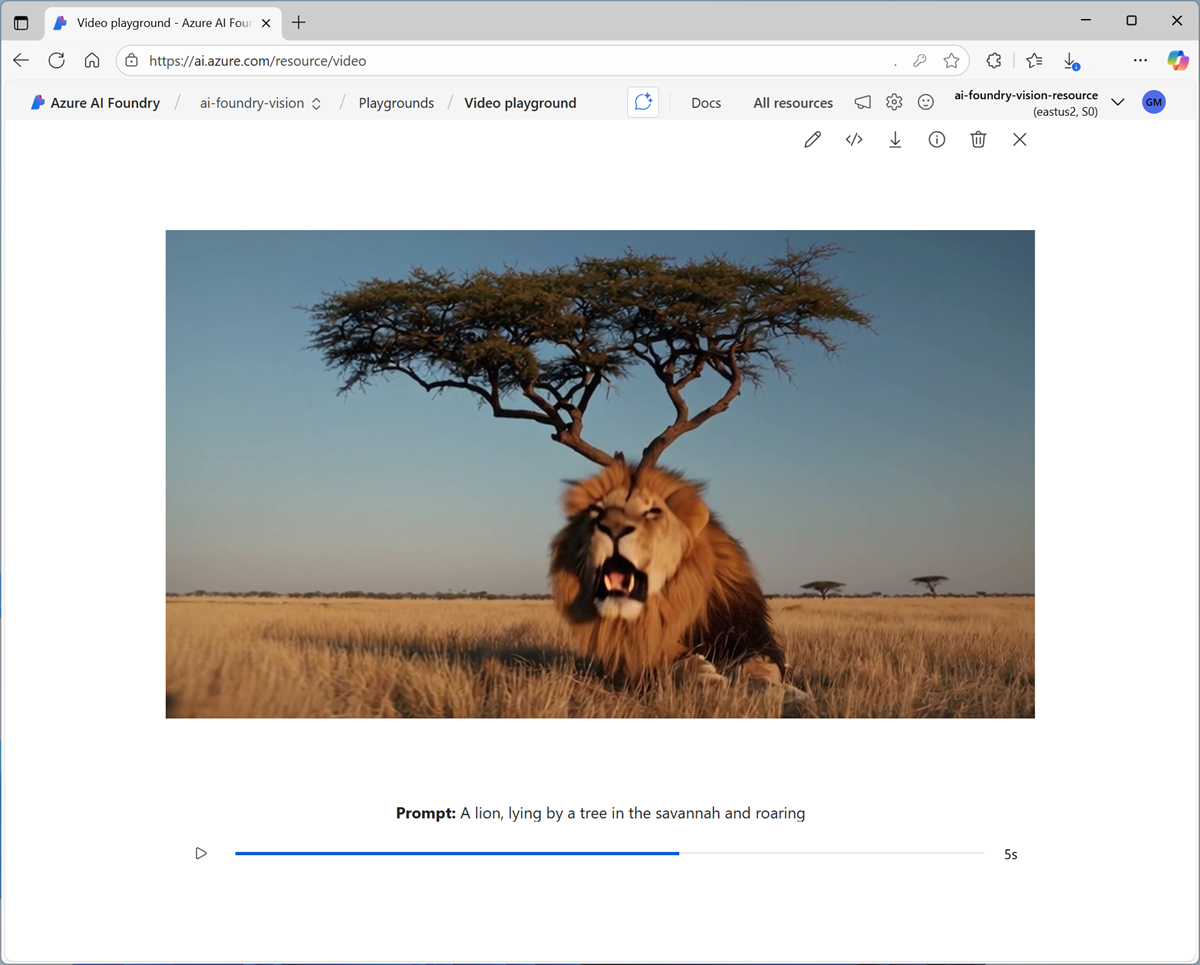
- Ensure your Sora model deployment is selected. Then, in the Prompt box, enter a prompt such as
A lion, lying by a tree in the savannah and roaring. -
Wait for the video to be generated, then view it in the playground:
- Close the video, and then enter another prompt, such as
A herd of wildebeest migrating across a riverand review the resulting video.
Clean up
If you’ve finished exploring models work working with images and video in Azure AI Foundry, you should delete the resources you have created in this exercise to avoid incurring unnecessary Azure costs.
- Open the Azure portal at
https://portal.azure.comand view the contents of the resource group where you deployed the resources used in this exercise. - On the toolbar, select Delete resource group.
- Enter the resource group name and confirm that you want to delete it.